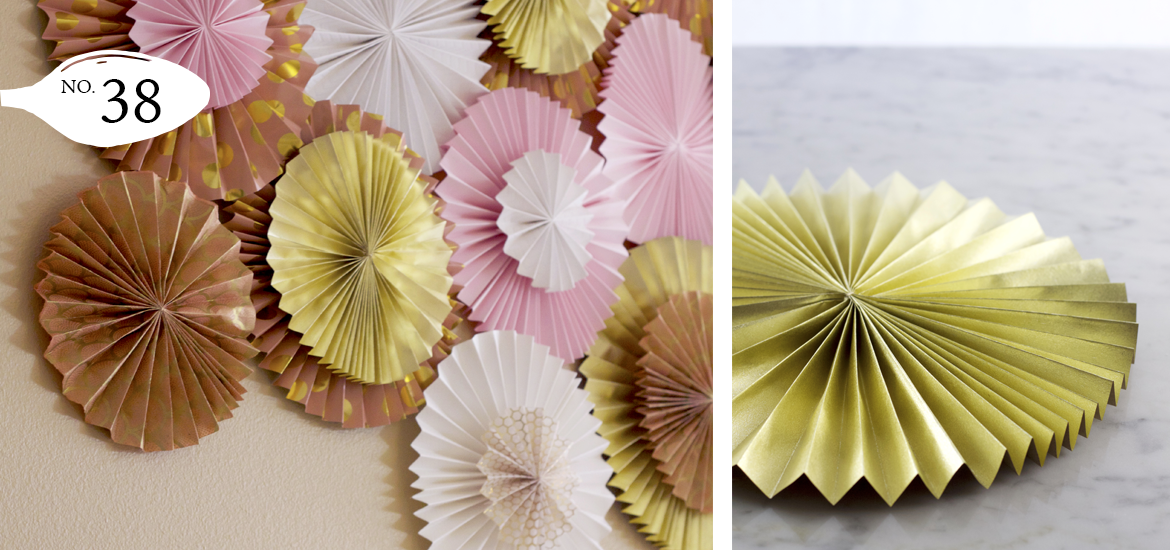
Dress up your party or event with a stylish and easy paper fan backdrop!
For my baby shower I decided I wanted to create a paper fan backdrop after I saw a stunning display at Paper Source. So I went home and googled tutorials. I quickly realized making the fans was going to be a lot more expensive than I expected, so I decided I needed to get creative to cut costs. Furthermore, when trying to follow the tutorials, I figured out what I believe to be a much better and more effective method of making the fans. However, I can’t take all the credit for this, I had help from my sweet husband. He watched a lot of Martha Stewart when he was little.
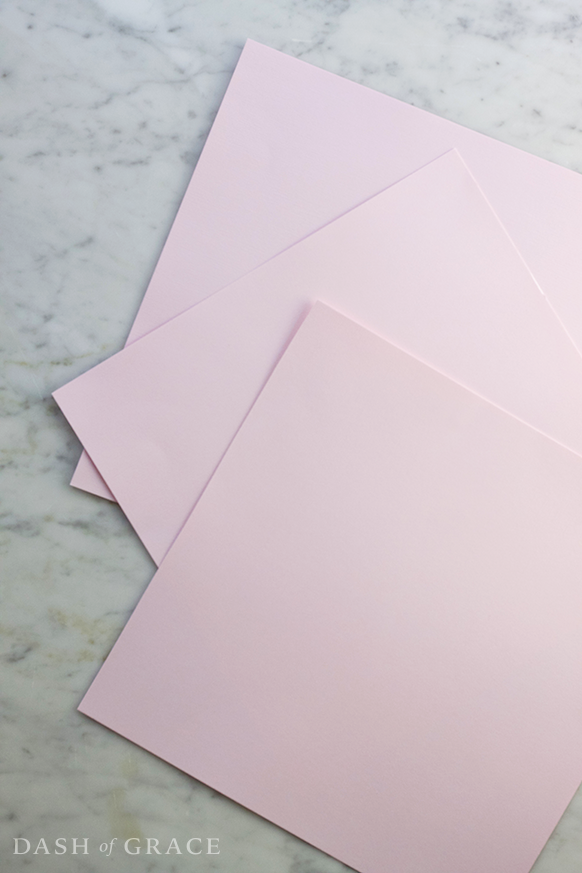
Basically I discovered you can make these fans using either a square piece of paper or a 1-by-3 rectangle. No fancy paper needed. The most cost effective way is to buy rolls of wrapping paper and simply cut them into the desired shape. (This also allows you to make BIG fans) You can also use card stock. As you can see, for my backdrop I used a combination.
Supplies:
• Wrapping Paper and/or card stock
• Ruler
• Pencil
• Hot glue gun
• Scissors
• Double-sided tape
• Thread (for rectangle method)
Square Method
1. For this method you need 3 square pieces of paper per fan (i.e. 3 12×12 sheets of card stock). *Note: the diameter of the fan will be the same as the paper size. So this example would make a 12” fan)
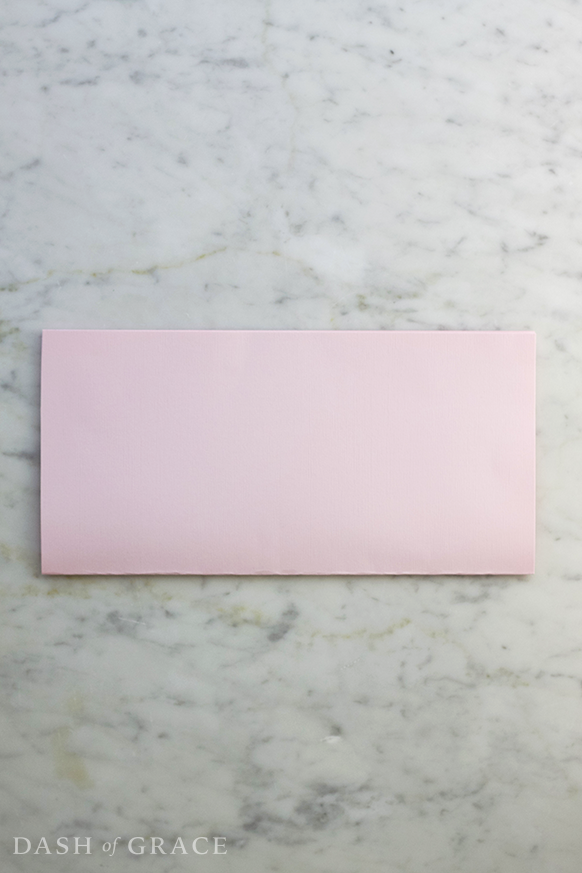
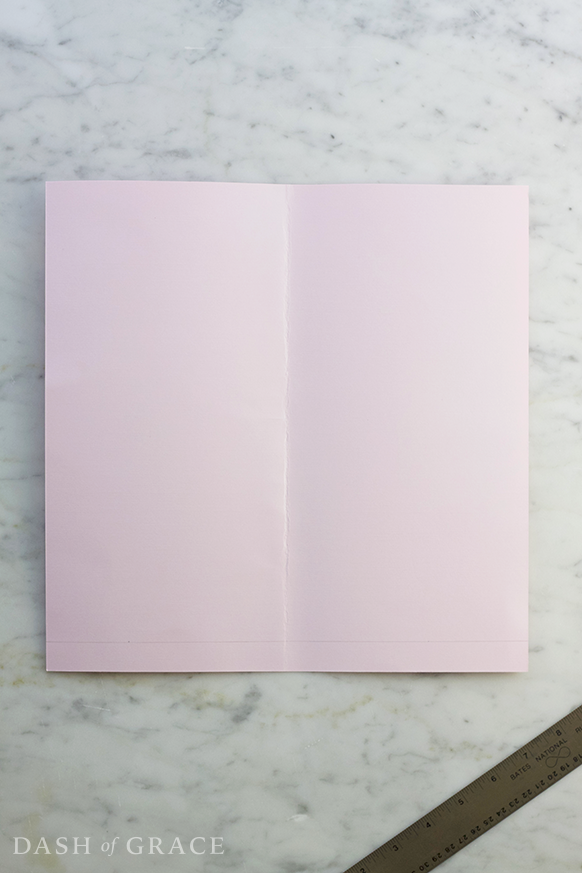
2. Take your first sheet of paper. With the “good” side facing down, fold the paper in half, creating a crease. Unfold to lay flat.
3. Measure and draw a line 3/4” from the bottom, perpendicular to the crease, to give you a guide while folding.
4. Fold bottom of paper up and over line to create first fold.
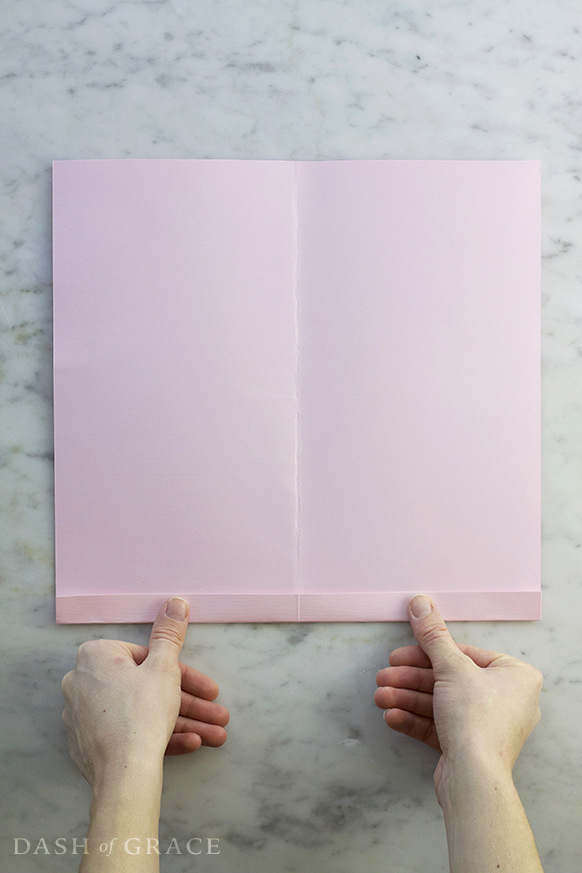
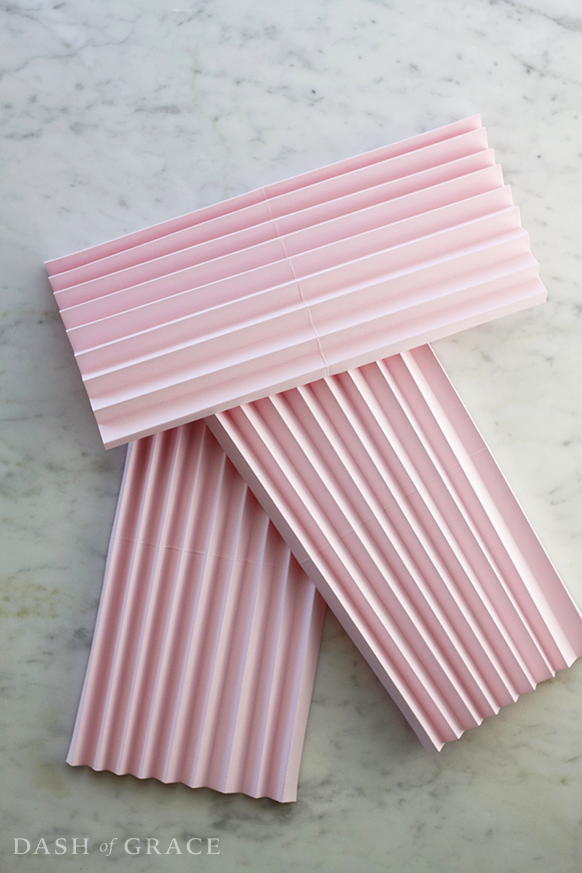
5. Flip and continue folding the paper accordion style until entire piece is folded. You should end up with a downward fold (“humps” on both ends). If not, simply cut off the upward fold so your ends match up.
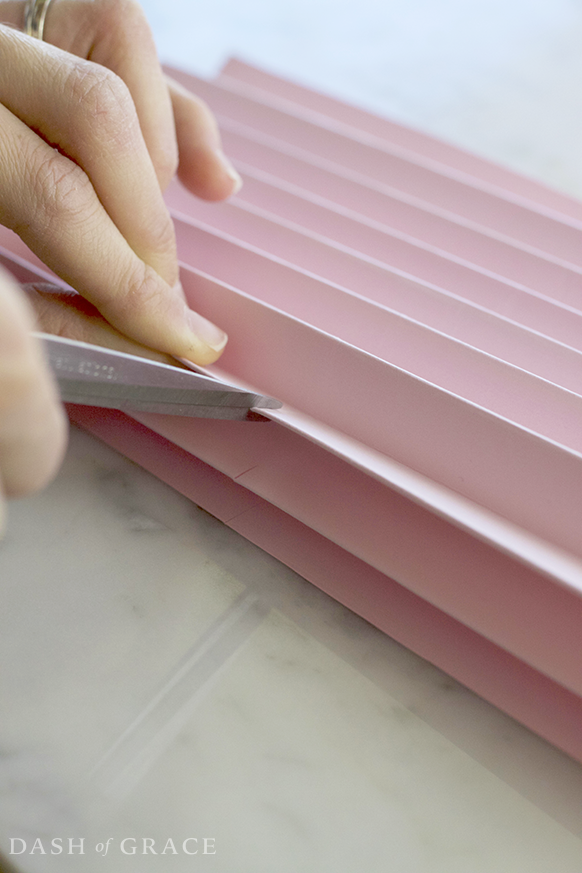
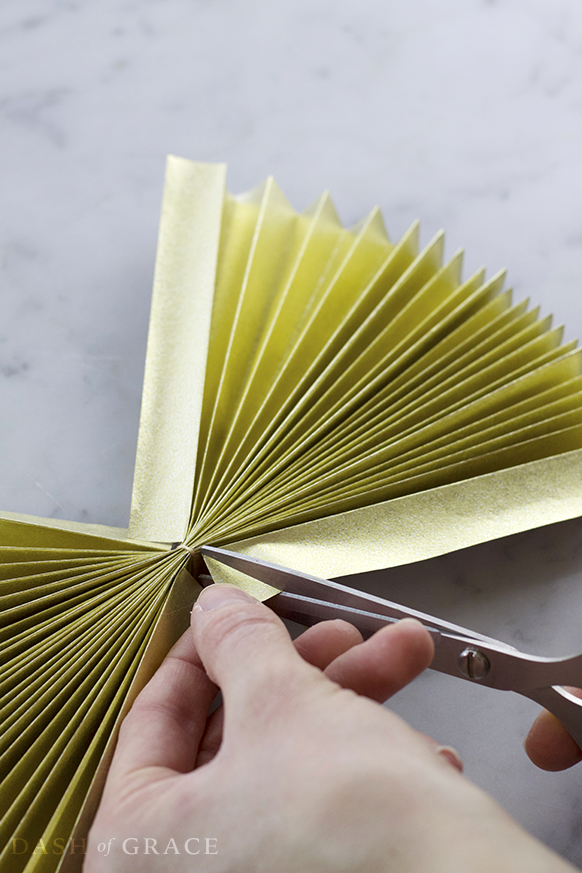
6. With “good” side of accordion facing down, make small cuts at the top of the “humps” about 1/3 of the way down. (This helps the paper fold nicer.)
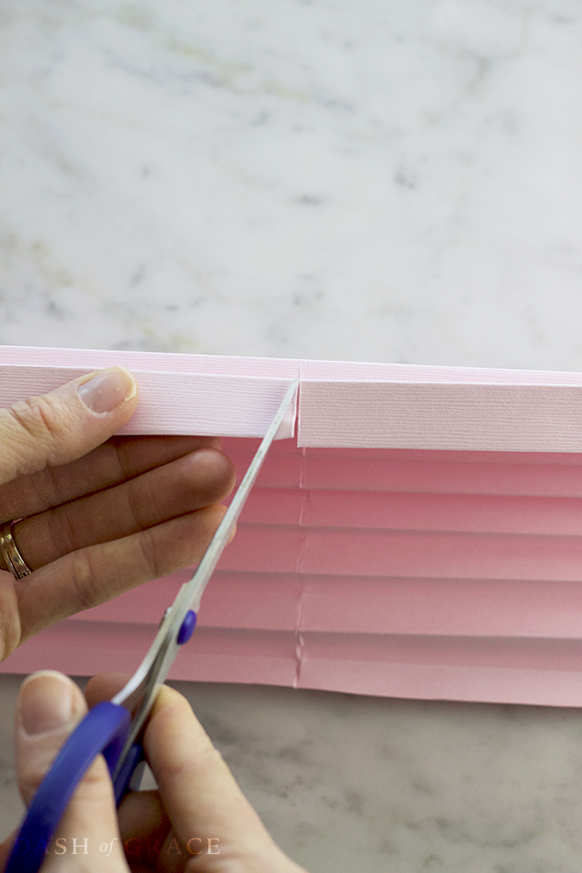
7. Cut both end flaps across crease (from step 2).
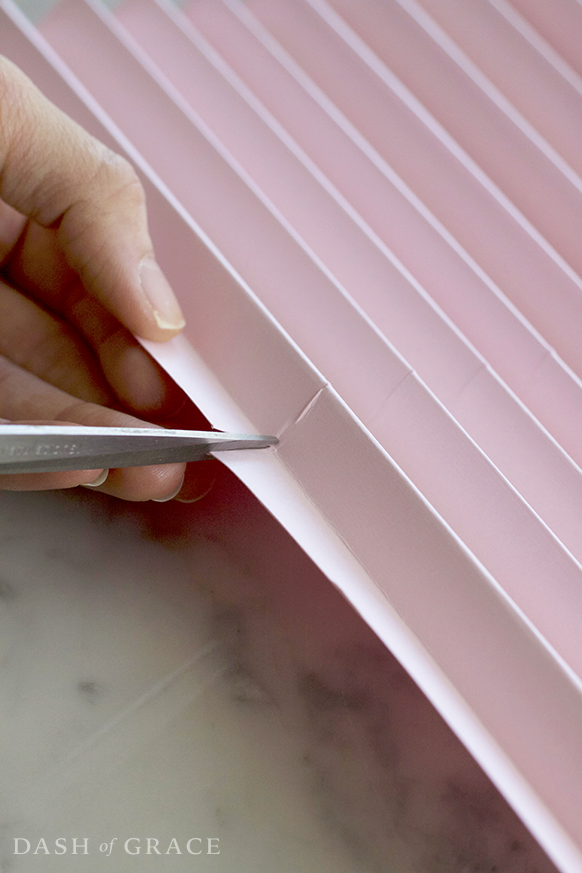
8. Cut out a small triangle on the downward flap (from the bottom of the paper to the center crease).
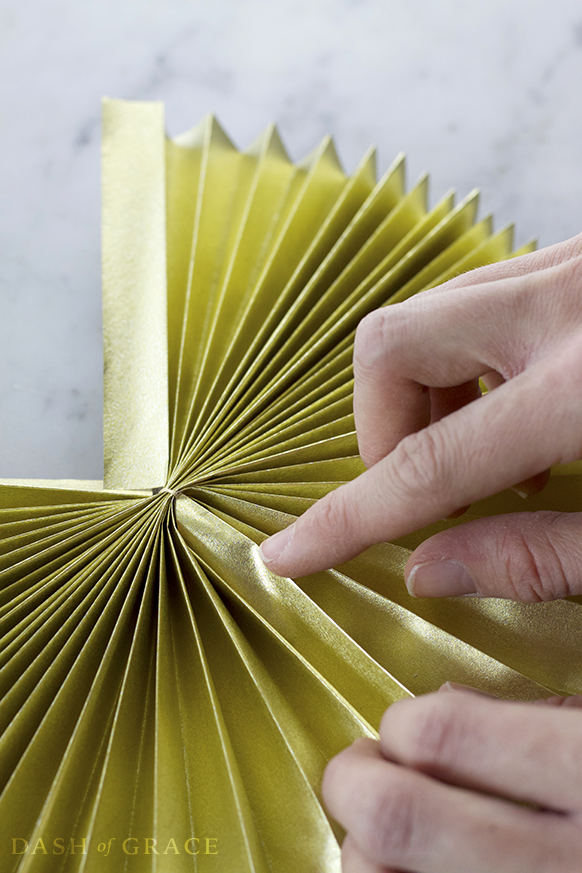
9. Fold accordion in half across crease(from step 2) to bring the ends together. Take the flap with the triangle cut and gently slide directly over the intersecting “hump”. Use a piece of double-sided tape on the inside of the flap with the triangle cut to secure in place.

10. Repeat entire process with other 2 accordions.
11. Connect the three pieces using the triangle cut and fold over “hump” method previously used. Again, use double-sided tape to secure.
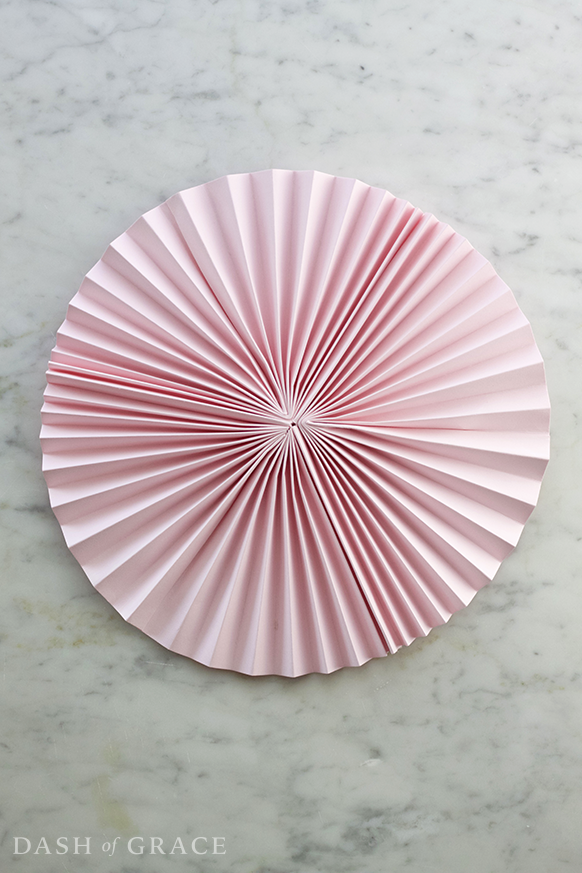
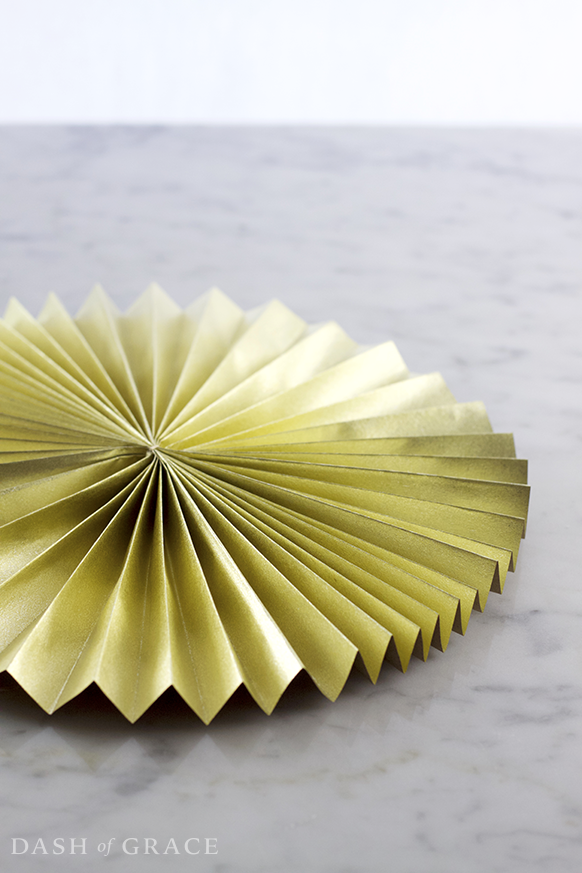
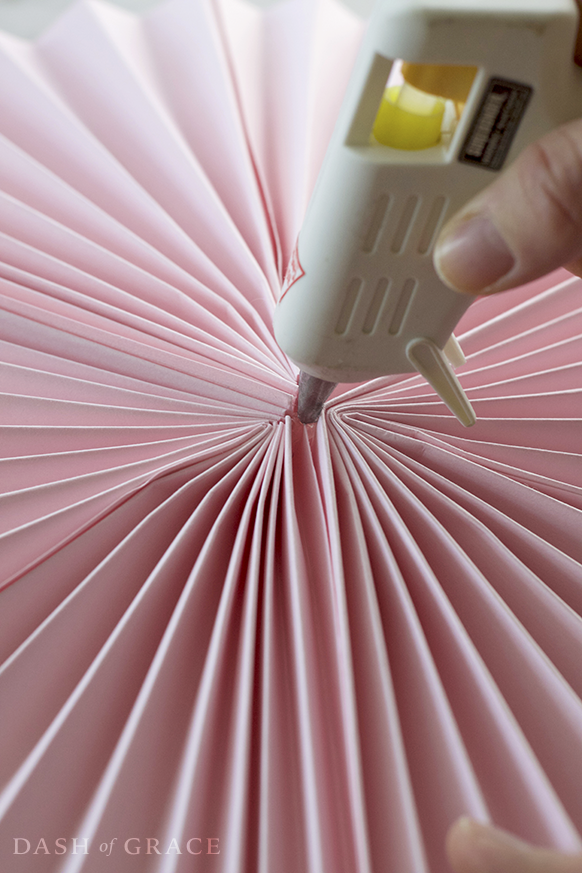
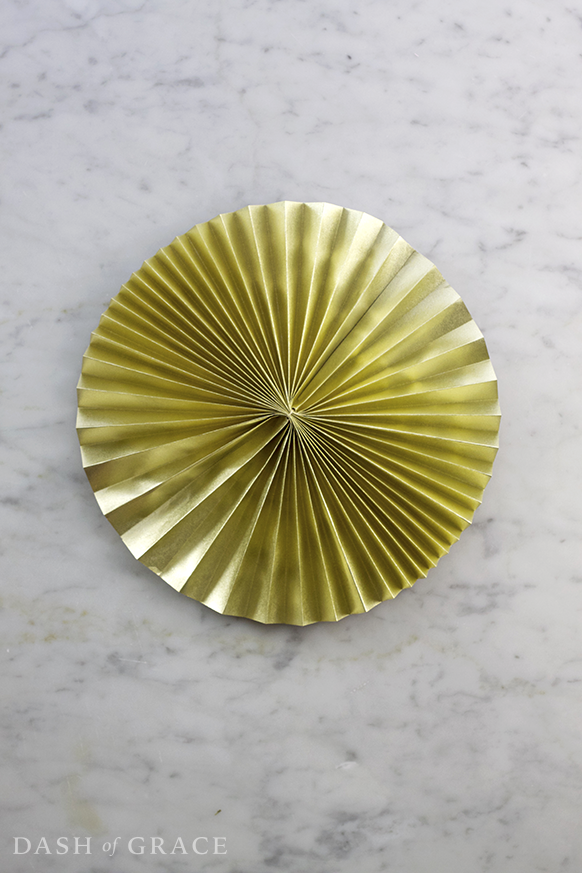
12. Once fan is completely assembled, flip over and squirt hot glue into the center of the back of the pinwheel. Compress together to make fan “tighter”. Hold in place while glue cools (won’t take long).
Rectangle Method
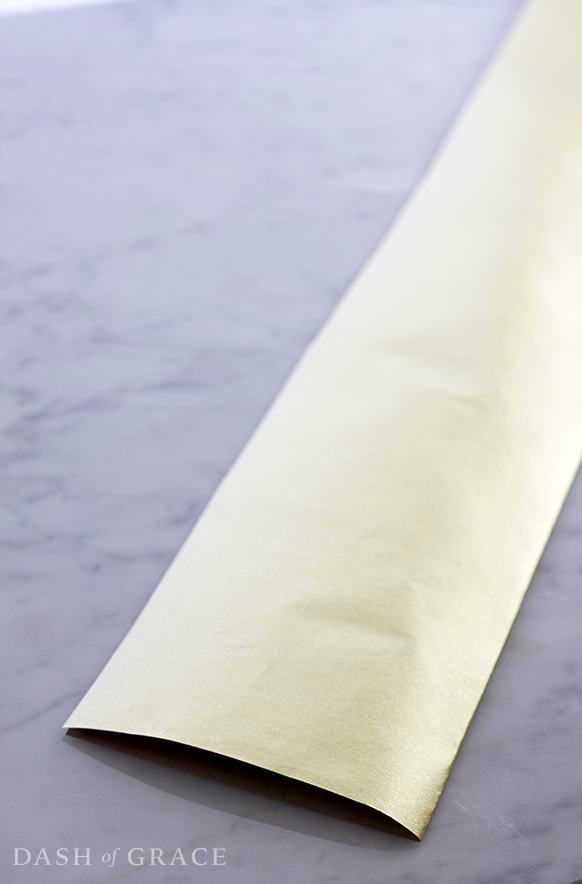
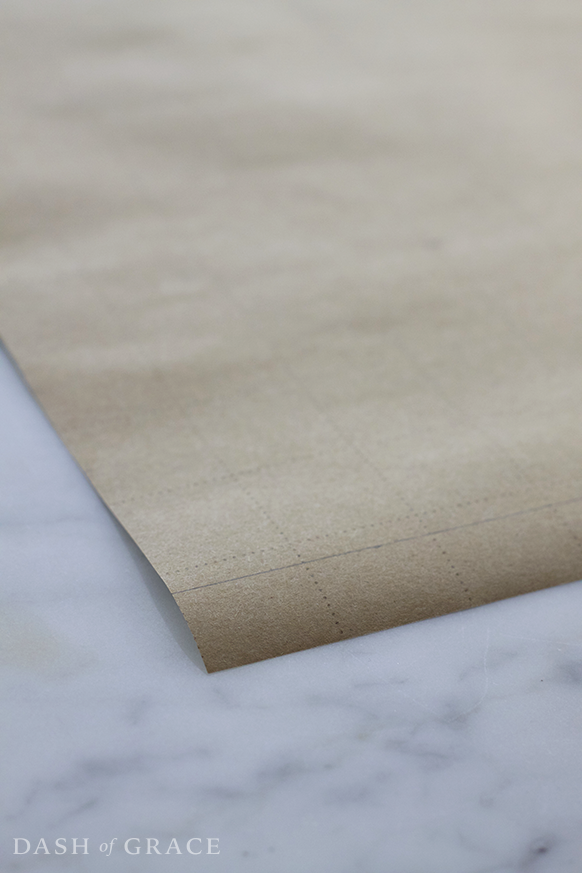
1. Measure and cut paper into a 1×3 rectangle of desired size (i.e. 15”x45” for large fan).
2. With the “good” side facing down, fold the paper in half “hot dog style”, creating a crease. Unfold to lay flat again.
3. Measure and draw a line 3/4” from the bottom, perpendicular to the crease, to give you a guide while folding.
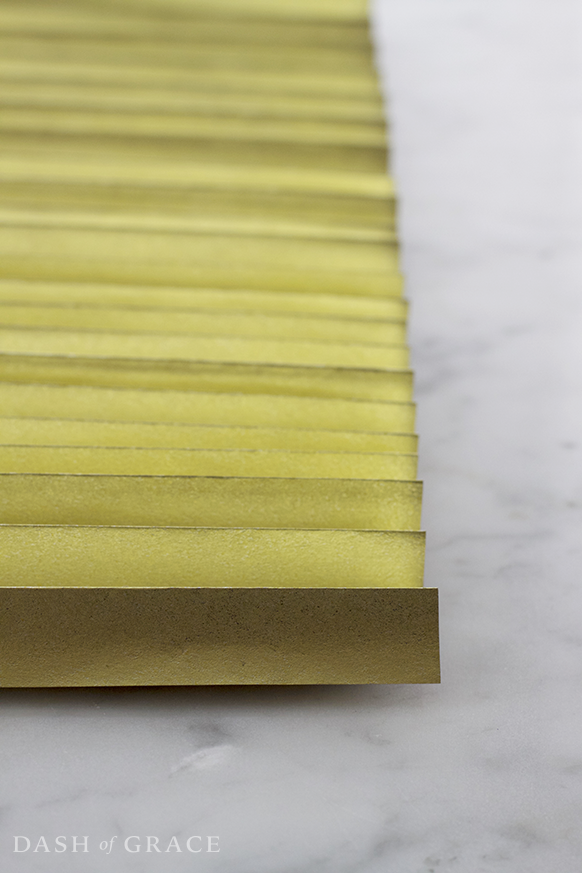
4. Fold bottom of paper up and over to create the first fold.

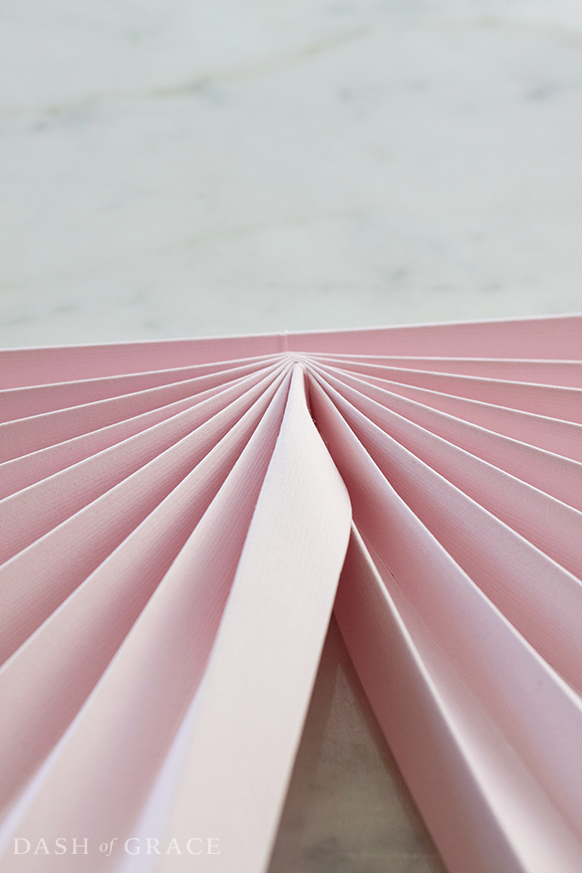
5. Flip and continue folding the paper accordion style until entire piece is folded. You should end up with a downward fold (“humps” on both ends). If not, simply cut off the upward fold so your ends match up.
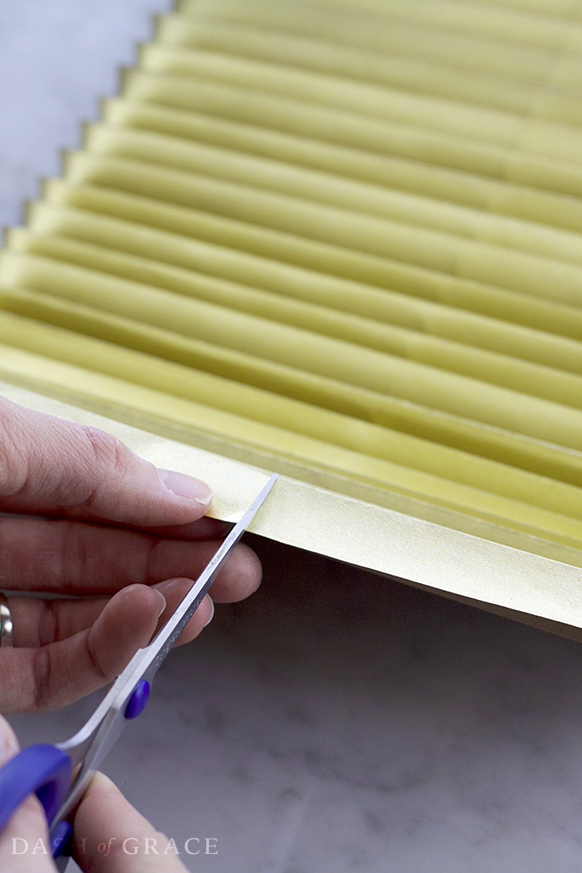
6. Make a cut on the first and last flaps across the crease from the “hot dog” fold.
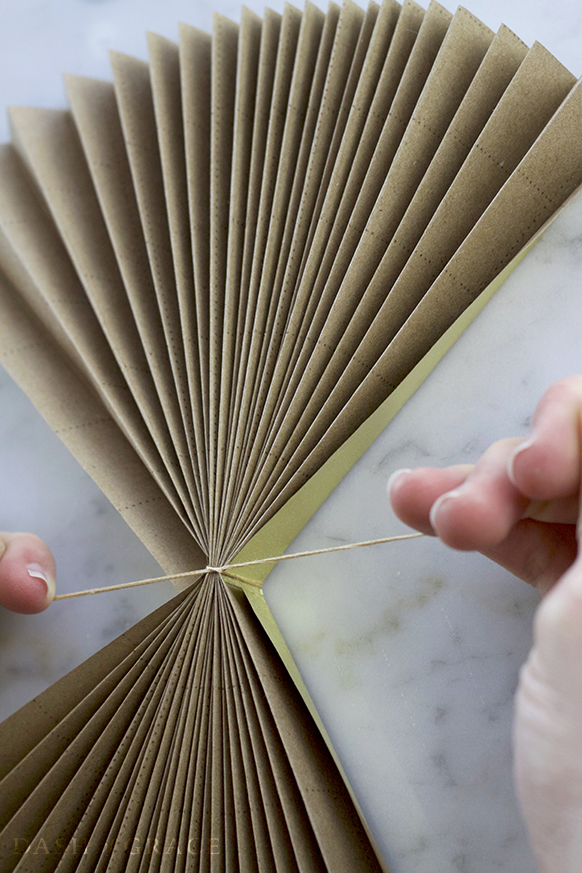
7. Tie a piece of embroidery floss or thread tightly around the center (where the crease from the “hot dog” fold is).
8. Cut out a small triangle on the first and last flap where there is a preexisting cut from step 7 (from the bottom of the paper to the string). Only do this on one side of the string.
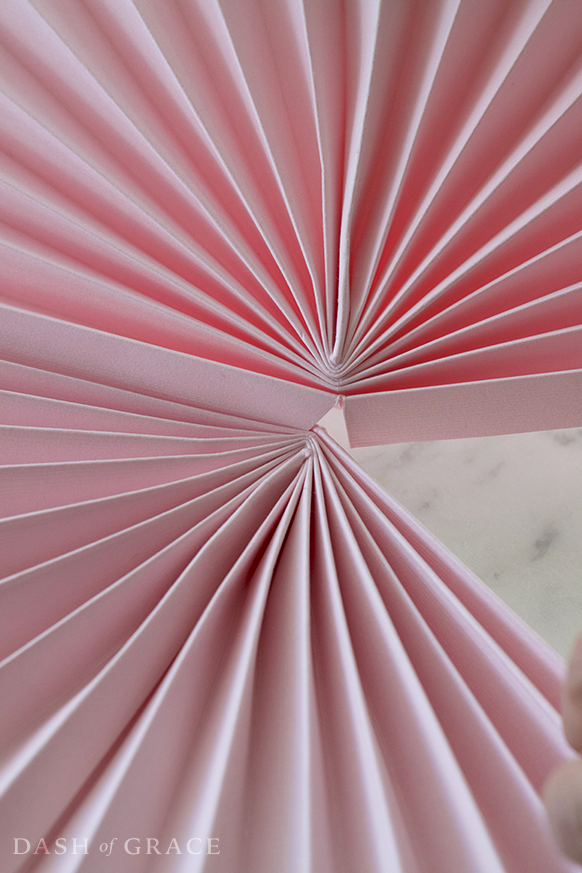
9. Unfold half of fan until the ends meet. Take the flap with the triangle cut and gently slide directly over the intersecting “hump”.
10. Use a piece of double-sided tape on the inside of the flap with the triangle cut to secure in place.
11. Repeat for other half of fan.
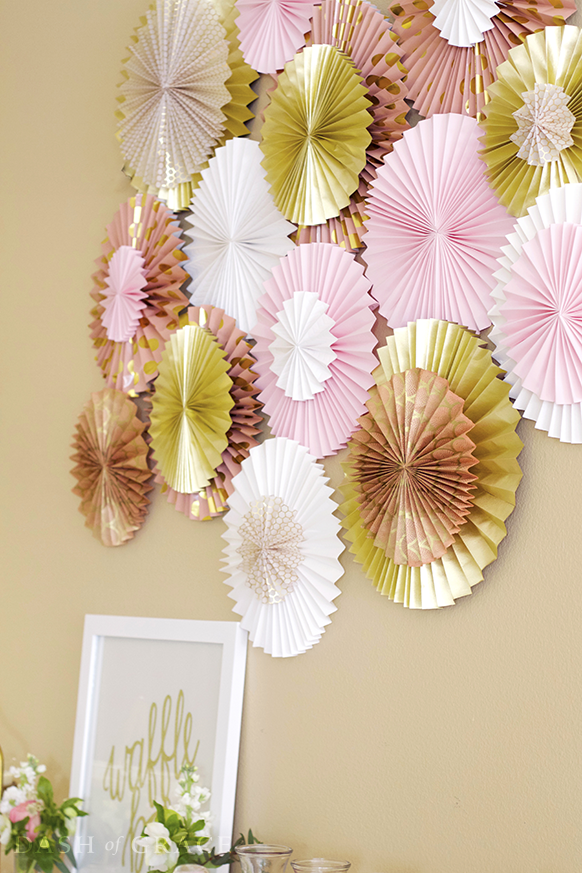
I made my fans in a variety of sizes! Have fun with it! You can layer your fans by using hot glue to attach the smaller ones in the center of the larger ones.
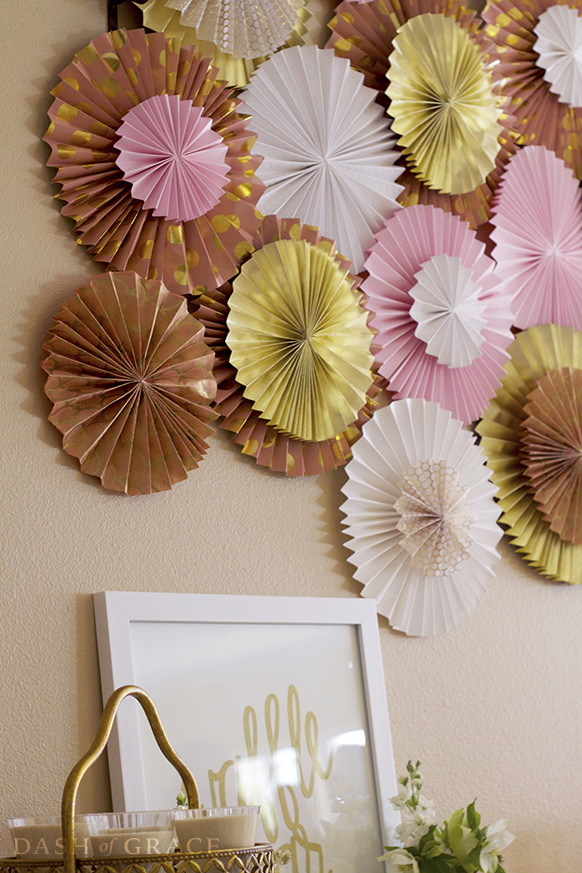
To attach them to the wall I mounted them with Command picture hanging strips cut into squares.
However, you could also use pushpins, packaging tape (depending on weight of paper you used), or glue them to a piece of poster or cardboard first before attaching to wall.
Wow your guests at your next party or gathering with these homemade decorations! I love what a statement the wall made!

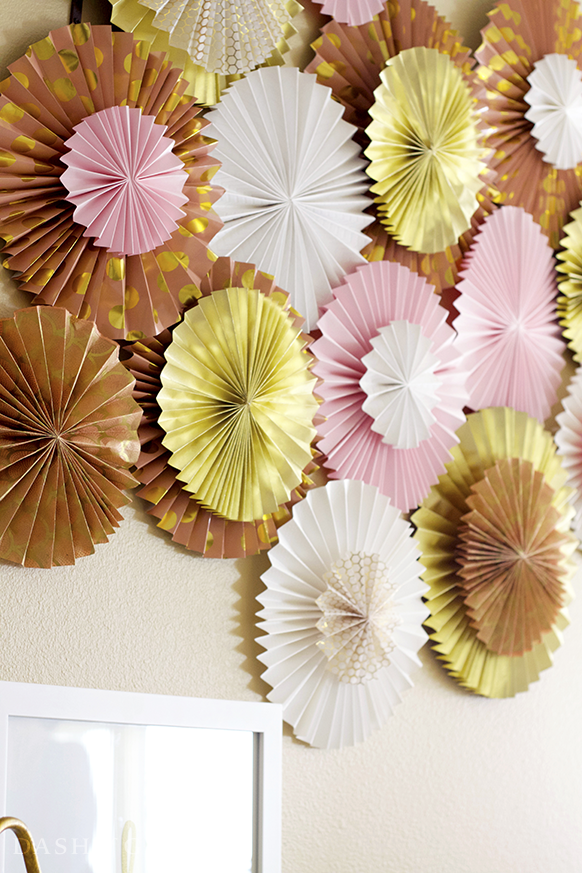

Making a wall of wheels, or paper rosettes, is a great way to make a HUGE impact at a party without a lot of fuss or cost. I bought a pack of paper and some doilies – that’s it! Here’s a basic tutorial on how to make this great back drop.